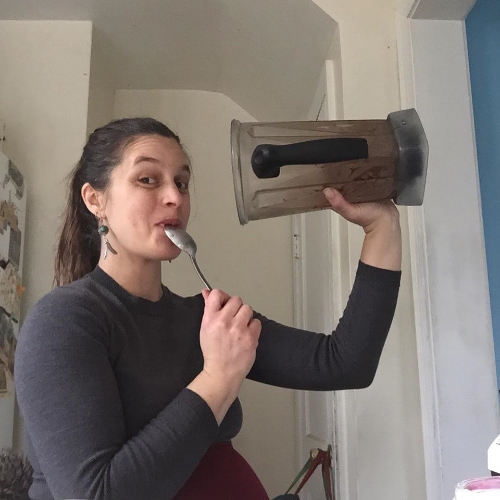
When I was younger, I had a fairly active sweet tooth.
As a kid, I hid a cup of sugar cubes in my bedroom on my bookshelf. It’s amazing I didn’t have ants. Or that all of my teeth didn’t rot out of my head before I hit puberty.
In college, I brought huge tubs of Jelly Belly’s with me to my apartment-style dorm, plowing through them like they were going out of style. I ate icing straight from the jar. I loved frosties from Wendy’s more than “healthy food.”
I was the worst kind of vegan. The kind who gives veganism a bad name. I ate very few vegetables, I didn’t cook for myself, and i loved junk.
I was also 18.
Flash forward to now and I’ve taken all of those things out of my diet. I no longer like the taste of white sugar or processed sugar. In fact, if I accidentally eat anything with white, processed sugar, I usually get a headache or a stomachache or both.
I don’t even eat as much chocolate as I used to, preferring small amounts of raw chocolate or choosing to make my own (because I’m at that level of crazy, I suppose).
My sweet tooth has diminished significantly since college, but it hasn’t gone away all together. Instead of eating lots of artificially sweetened desserts, i’ve been making my own using fruits and natural sweeteners, as well as some unexpected ingredients.
I’m including my top 3 favorite homemade desserts. They are easy to make and relatively healthy. Each one of these has less than 6 ingredients AND can be made in minutes. Vegan, Gluten-Free, and no processed sugar. And 100% delicious. I give you Banana “nIce” Cream, Avocado Chocolate Mousse, and Chocolate Nut Butter Cups.

Banana Nice Cream:
(2 ingredients)
Ingredients~
2 FROZEN Bananas
1 cup frozen fruit (strawberries, blueberries, mango, and pineapple all work very nicely here)
optional: 1/2 cup coconut milk, drizzle of maple syrup
Directions~
Blend the frozen bananas and frozen strawberries (or other fruit) in a high powered blender. Use the tamper, if you have a vitamix, to help blend the frozen fruit. It’s super important to use frozen fruit. If you don’t use frozen, not only will it not have the consistency of ice cream, but it won’t be cold like ice cream.
If you choose to use coconut milk, which I do from time to time, add the coconut milk in after the fruit is pretty well blended. Coconut milk will harden when no longer at room temperature. I do find that it gives a a slightly smoother texture, but it’s not necessary. Just the fruits are also delicious as is.
If you want to drizzle some maple syrup on top for extra decadence, go for it!
Serve cold and eat quickly!

*another delicious option: banana, blueberry, raw chocolate (1Tbs), and a teensy bit of maple syrup.

Avocado Chocolate Mousse:
(4 ingredients)
Ingredients~
1 Avocado
3 Tbs raw cacao powder
1/2 cup coconut milk (or more. see note at bottom of recipe)
1 Tbs maple syrup
*optional: a few sprigs of fresh mint!
Directions~
Combine all of the ingredients in a high powered blender. Blend well until the ingredients are thoroughly mixed together and smooth. Adjust sweetness (maple syrup) or thickness (coconut milk) to your taste.
Eat immediately. Share if you’re feeling generous.
*note: The size of your avocado and how many people are sharing this treat, will determine how much coconut milk to use. If the avocado is large and you’re planning on sharing, you’ll want more coconut milk; if the avocado is small and you’re the only one eating, you shouldn’t need more than 1/2 a cup)

Chocolate Nut Butter Cups:
(6 ingredients)
Ingredients~
1/2 cup coconut oil
1/4 scant cup maple syrup
1/4 cup raw cacao
2 tsp vanilla
1/4 cup nut butter (any kind will do!)
1/4 cup finely chopped nuts (i love pistachios for the topping, but you can go with your fave!)
optional additions: maca powder, cinnamon, cardamom would all be nice extras here. add them in when chocolate is warming on the stove.

Directions~
Heat the coconut oil on the stove in a medium saucepan until it’s melted, on medium-low heat. Doesn’t need to boil, so keep an eye on it! Shouldn’t take more than a few seconds.
Reduce heat to low and add in the cacao, maple syrup, and vanilla. Stir well to combine the ingredients and to make sure there are no clumps.
Line a cupcake tin with paper liners or aluminum foil “cups” (you’d shape the foil to fit the cup. I prefer this option, but both are equally fine. Also, I use a large cupcake/muffin tin. Who wouldn’t want bigger chocolate nut butter cups?). Pour in a small amount to cover the bottom of each cup. Then place a small spoonful of nut butter in the center of the chocolate. Cover the nut butter with a little more liquid chocolate. Add some of your chopped nuts on top.
Place in the freezer for at least 30 minutes. Remove when you’re ready to eat. Don’t tell anyone about your secret freezer stash unless you are in a sharing sort of mood.
Delayed gratification, I know. I promise this one is worth it.
Makes 6 chocolate nut butter cups, if you’re using the larger muffin tin. Might make more if you use smaller muffin tin with smaller cups.


